Published
- 4 min read
Starting with Localizable Strings

Made in Xcode 13, (swift 5)
When I started working as an iOS-developer recently, I learnt a lot on areas I’ve never read about before or tried in tutorials. This week’s topic is on Localizable strings, and they blew my mind on how easy and clean it makes your code!
Sometimes you build apps which have to deal with lots of strings. To make matters worse, you might even have to deal with multiple languages. I recently got to know Localizable Strings by my colleague, he inspired me to write this article!
Besides the use case for Localizable Strings of multiple languages, I use it for basically everything which uses a string. From basic buttons to errors, everything you want can be translated or just moved there. Moreover, wouldn’t you want to be able to easily expand your language settings apart from English and maybe your native language?
Introducing Localizable Strings.
Localization is the process of translating and adapting your app into multiple languages and regions. Localize your app to provide access for users who speak a variety of languages, and who download from different App Store territories.Developer.apple.com
Let’s get to it!
Show me the code😠!
- Start a new SwiftUI project in Xcode.
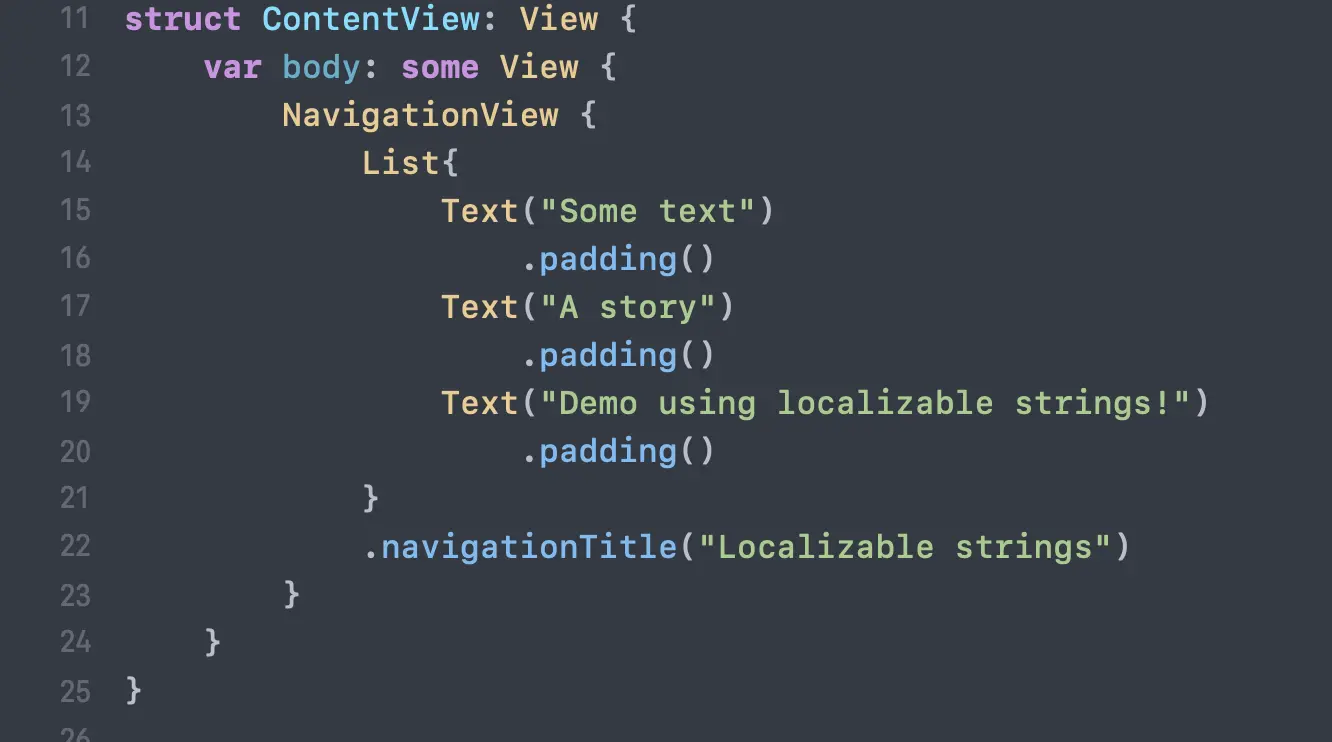
- You could work with the standard Hello World string, or replace your contentview.swift with this:
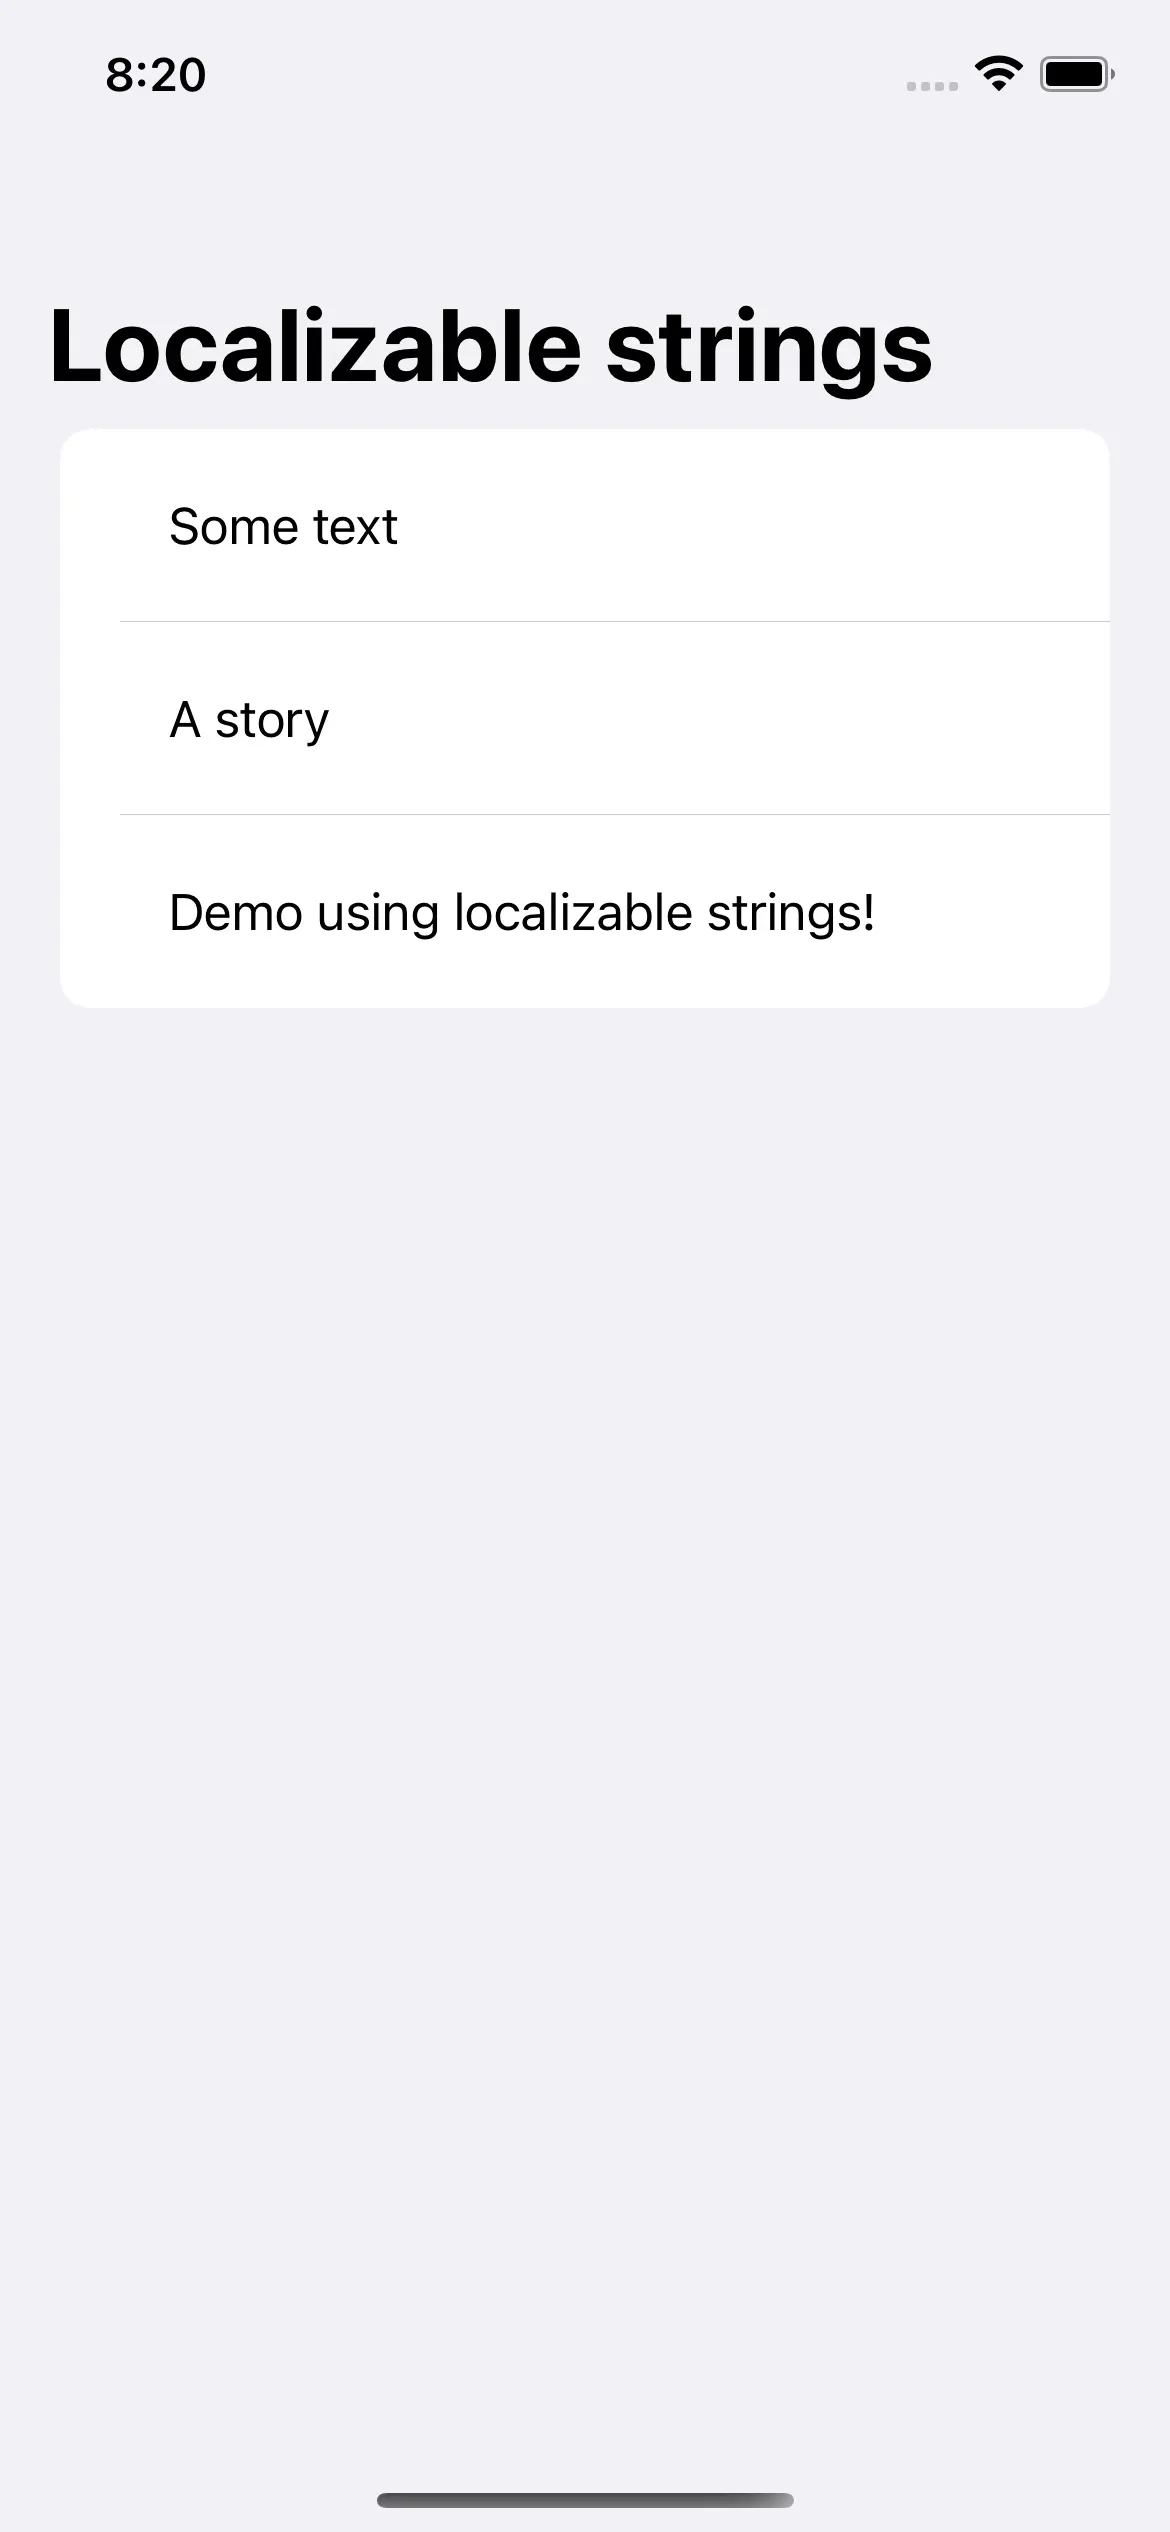
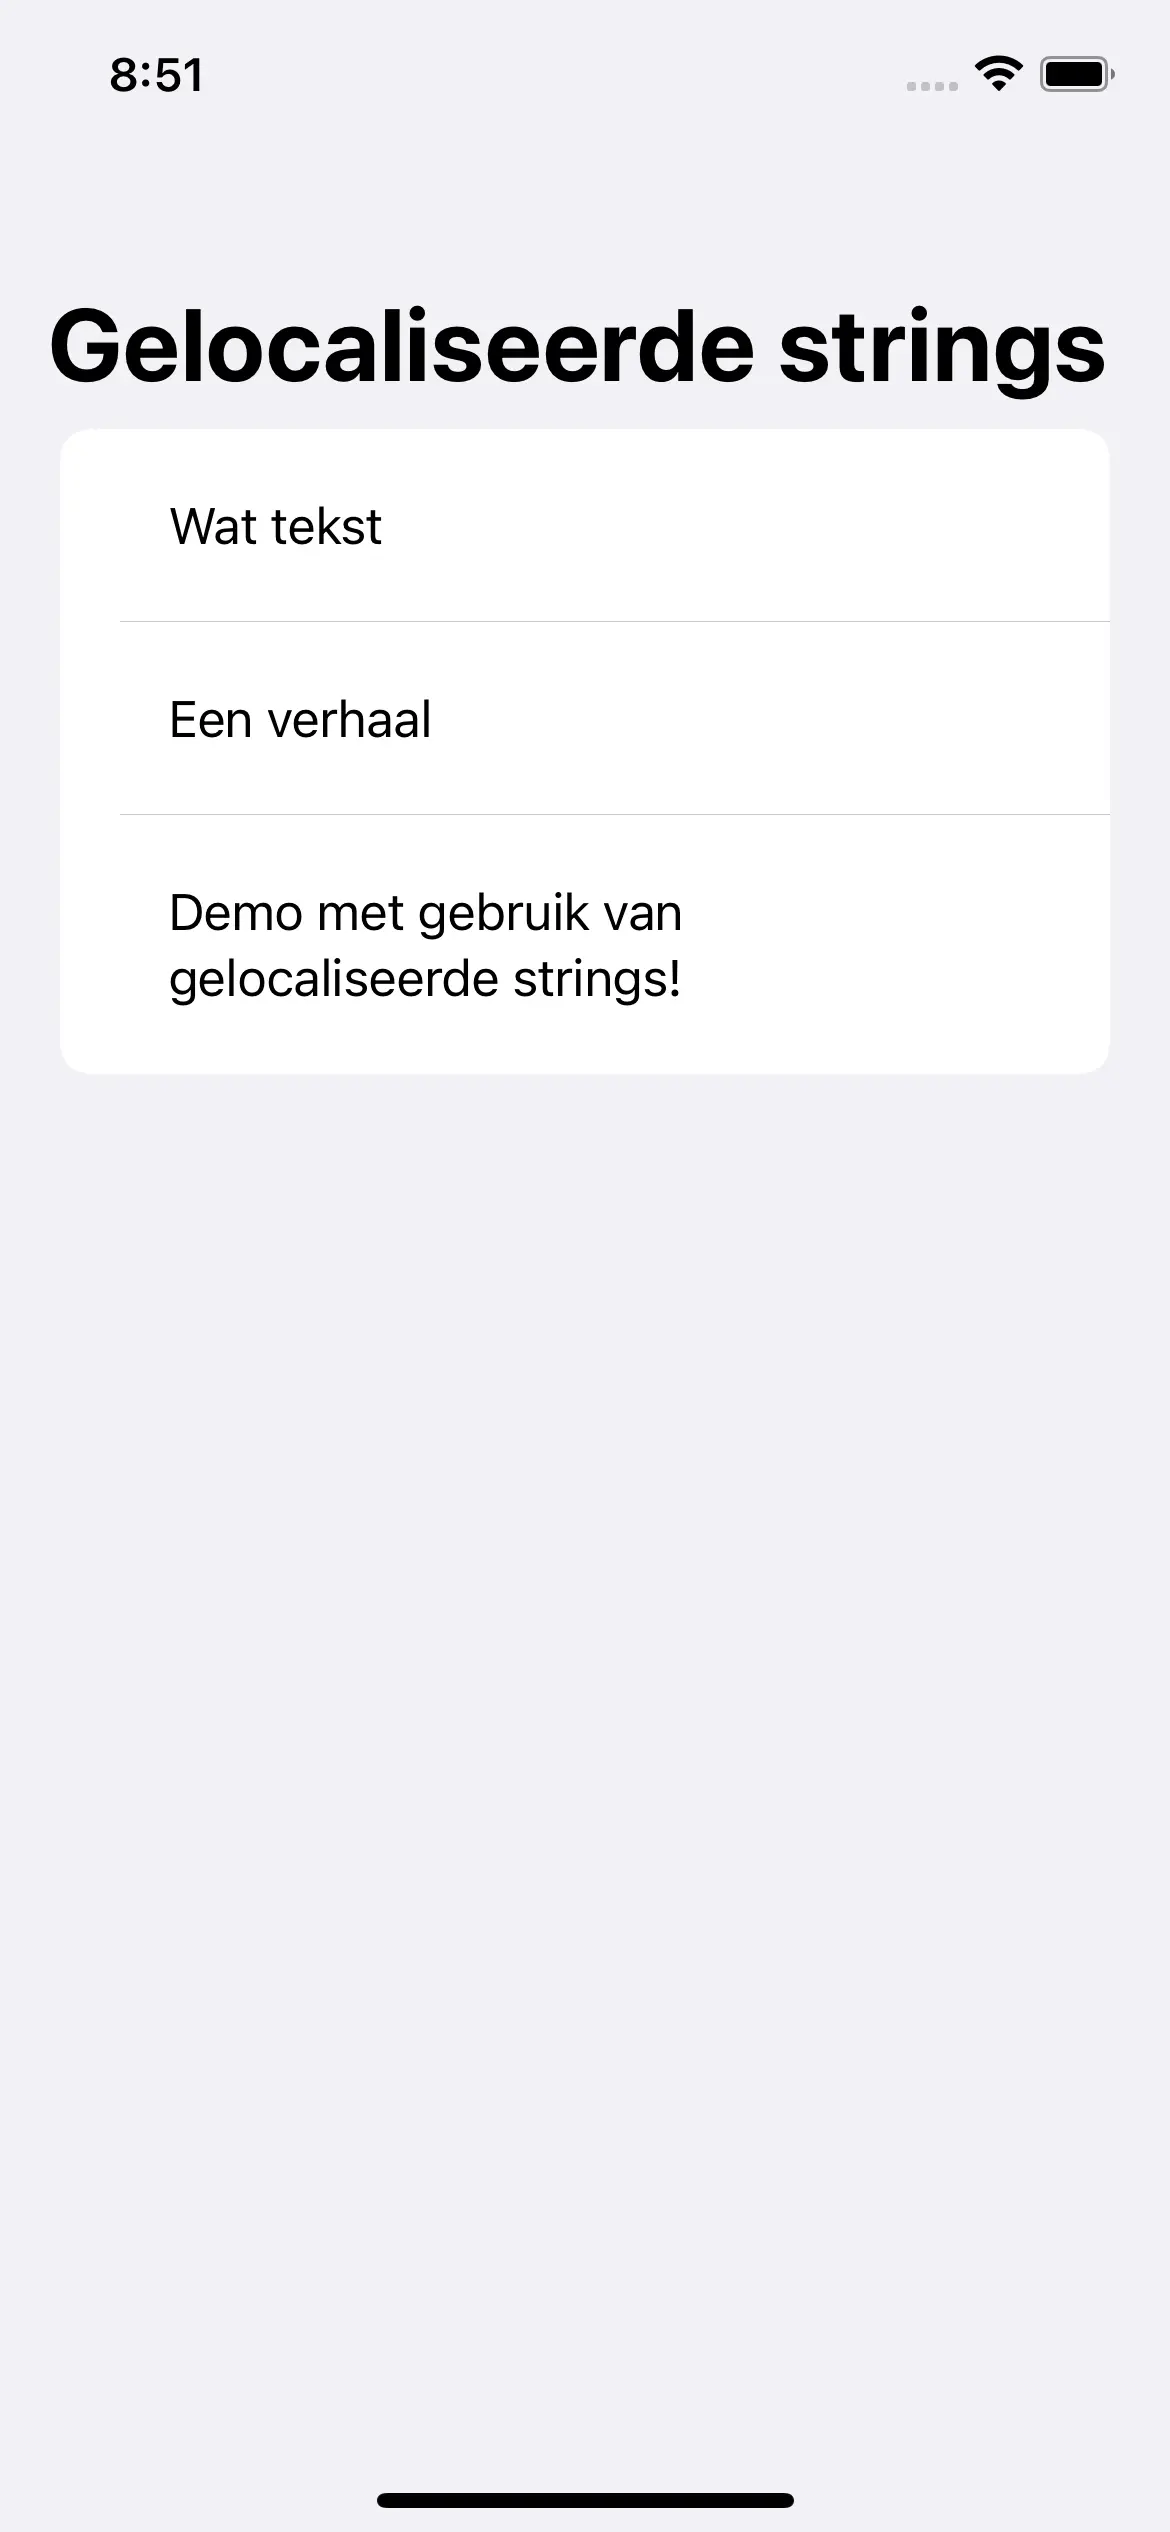
Your current screen
- When you build, you should see a simple navigationview with three list items. This should do it for now 😃!
- Up next, make a new file
(cmd + N)orFile > New > File… - Filter for String and select “Strings File” which will save a “Localizable.string” file.
- Make sure you have “
Use Base Internationalization” checked inside your project settings (Appname > Project > Info > Localizations)
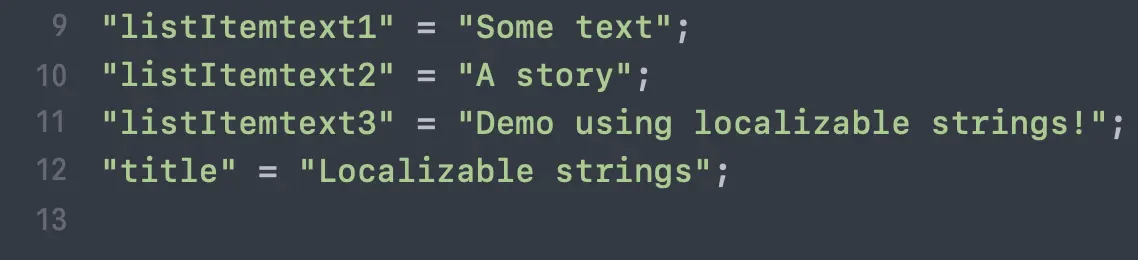
When opening this file, it doesn’t look very special. Inside, you can define your values by using text equals text "<text>" = "<text>";. Watch out for the ’;‘! I forget this one, all the time. Let’s stick to camel case for our values.
- For demo purposes, you can take over the values underneath or use your own!
To call a localizable string, you can use the NSLocalizedString method. But this function requires a comment, which isn’t always necessary when using short names or descriptions. I haven’t found a use case yet for using a comment, so be sure to let me know if you have one 😃. My colleague had this simple but elegant extension as a solution!
- Put this extension outside your contentview.swift
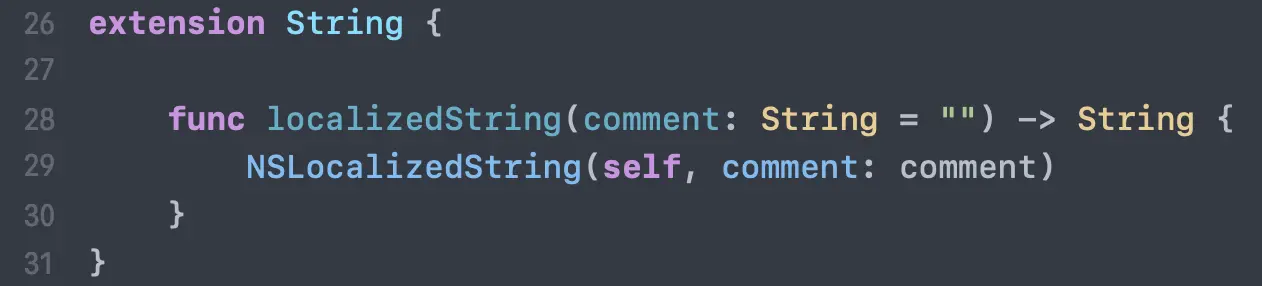
This extension allows us to call strings with or without comments. In order for this to work, we have to go back to our contentview.swift and call the localizable strings!
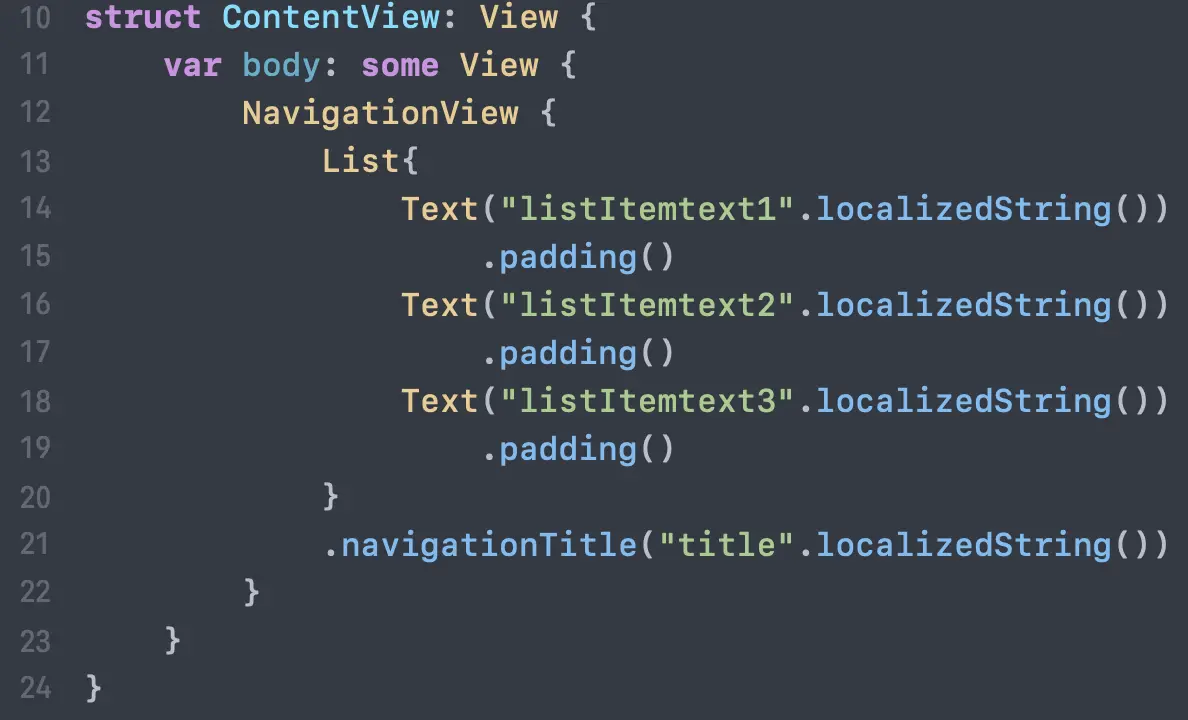
After changing this code, try building your project. The results should stay the same!
Want to handle multiple languages?
- Go to your Strings file. And checkout localization. As you can see, Xcode automatically assigns your system language to the file.
- Let’s return to our project localization settings (Appname > Project > Info > Localizations) and press the ’+’ sign to add another language. You can turn off the“Use Base Internationalization”.
- In my example, I’ve selected Dutch. Xcode has organized and copied the existing file, which we can use for our own language!

When we build our project again, you’ll notice a change when switching languages!
Conclusion:
Localizable strings are quite easy to use and can be a developer’s best friend. Not only will your code be more readable, it also gives you one place of access. I would highly recommend using it for all your strings because it gives you options for the future. Maybe your original plan was using only English, but now you can easily cater different nationalities in the future as well!
Sidenote:
Although I know it’s possible to go even further with localized strings, I chose to keep this tutorial simple. If you’ve become curious on learning more, or find my explanation insufficient, see the following!
- Localizing Strings That Contain Plurals Apple documentation when using plurals and exploring the String Dictionary file.
- (Not affiliated) Using iOS Strings Files with Localize intended on promoting their product, but gives a nice view on how to work with string to start with.
- Of course, there’s always Paul Hudson’s explanation on this!